How to Import Outlook PST to Yahoo Mail - Video Tutorial

Watch Video to Learn How to Upload Outlook PST Files to Yahoo Accounts ?

Product Guide - Screenshots

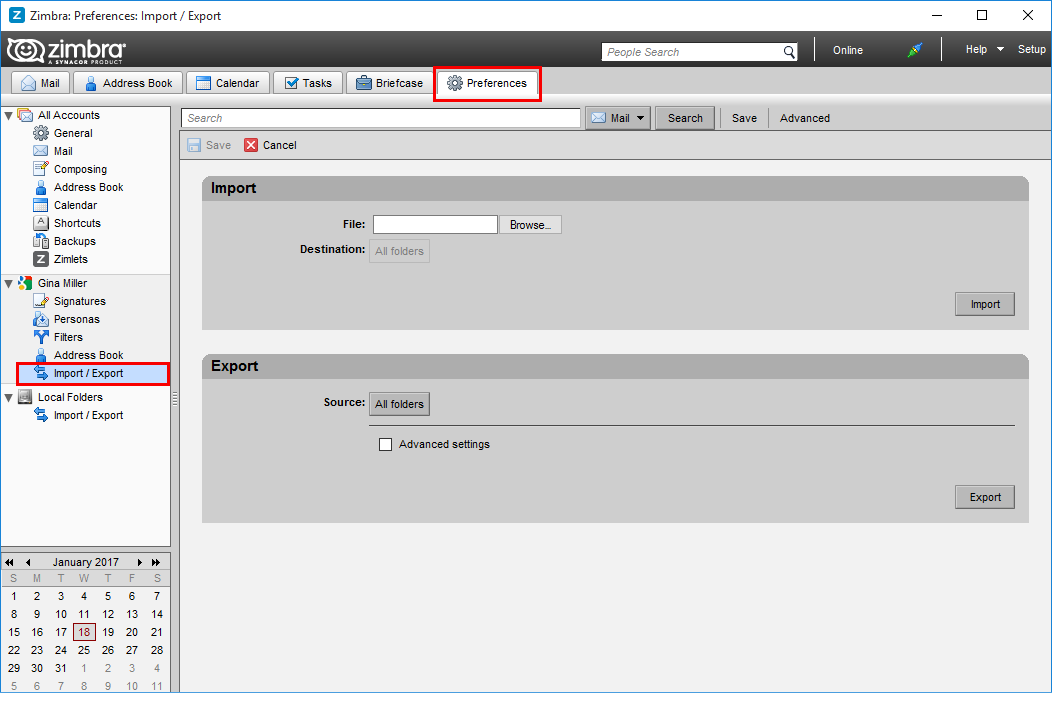
Complete Step-by-Step Process to Import PST Files to Zimbra Desktop

STEP 1
Download and install Turgs PST to Zimbra Converter Wizard on Windows computer

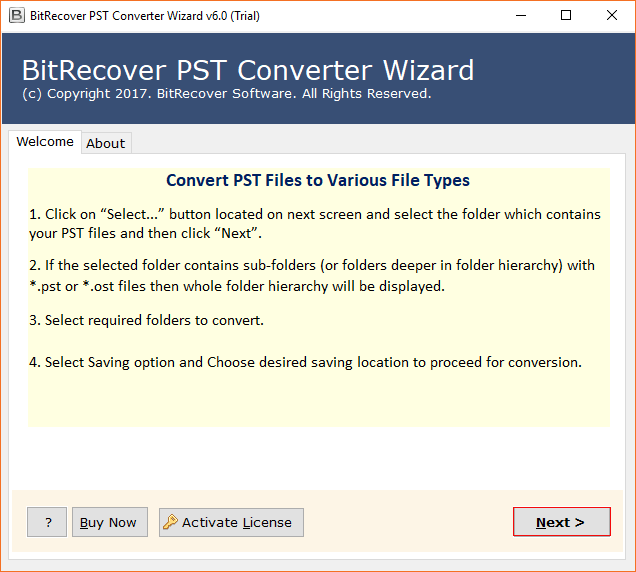
After Complete Installation Process, Run Outlook PST to Zimbra Converter Wizard on all Microsoft Windows Platform including Windows 10, Windows 8.1, Windows 8, Windows 7, Windows Vista, Windows XP, Windows Server 2019, Windows Server 2016, Windows Server 2012, Windows Server 2008, etc. below versions.

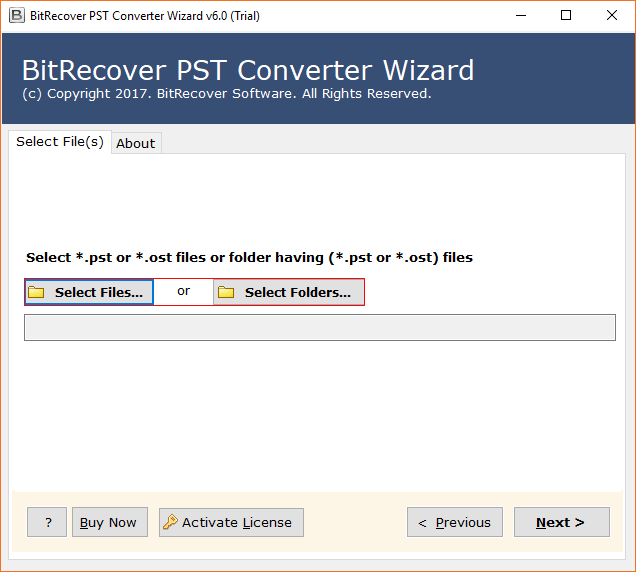
Note: - It is a client computer application, which acts as a client application on the Windows Server platform.

run pst converter wizard


STEP 2
Select PST Files with “Add Files” option

The software provides dual options to select multiple PST files. The “Add Files” option allows you to select multiple or single PST files from a location path.

select pst files
STEP 3
Select PST Files with “Add Folders” option

The "Select Folders" option allows you to select the contents of multiple PST files in a folder or subfolder from a single location.

select pst folder


STEP 4
PST Email and PST Labels or Folders Free Preview option

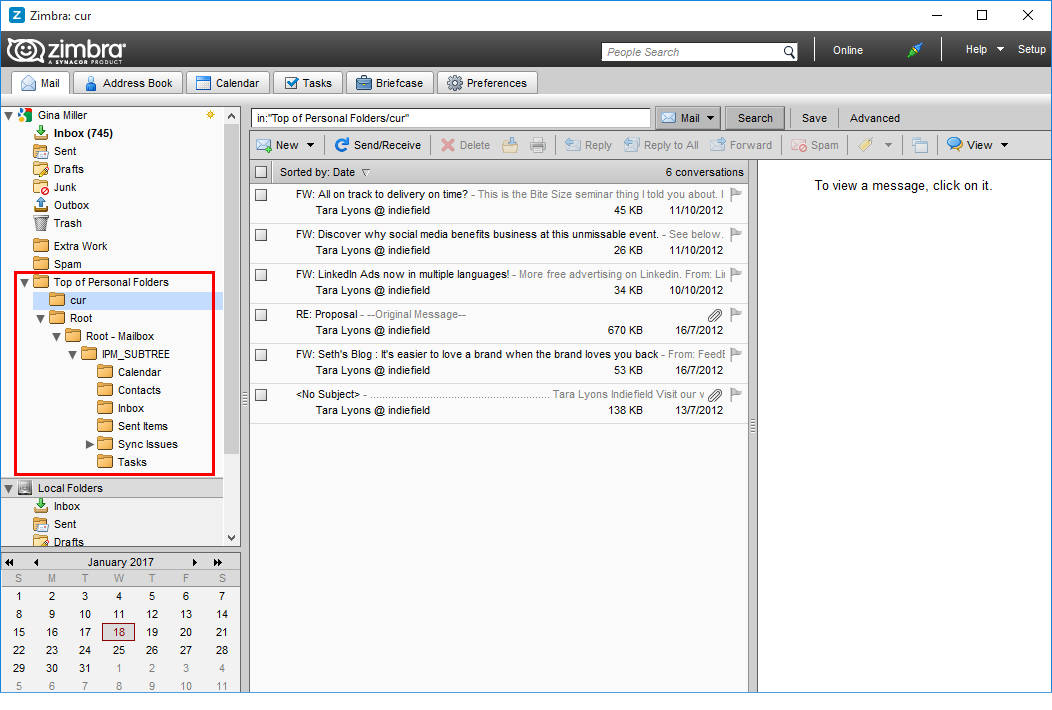
After the selected PST files, the software shows all PST files folder or label in the interface. It also shows the Contacts and Calendar folders. Here, you can select any folder and get a free preview of PST email, contacts, calendar in the software interface.

preview pst emails


STEP 5
Select the Required Zimbra File Saving Option from the List

The software offers a large number of file saving options, choose the desired Zimbra saving option to convert PST files to TGZ format as needed.

select saving option from the list

STEP 6
Change the Folder Structure Format with “Ignore System Folders Hierarchy” option

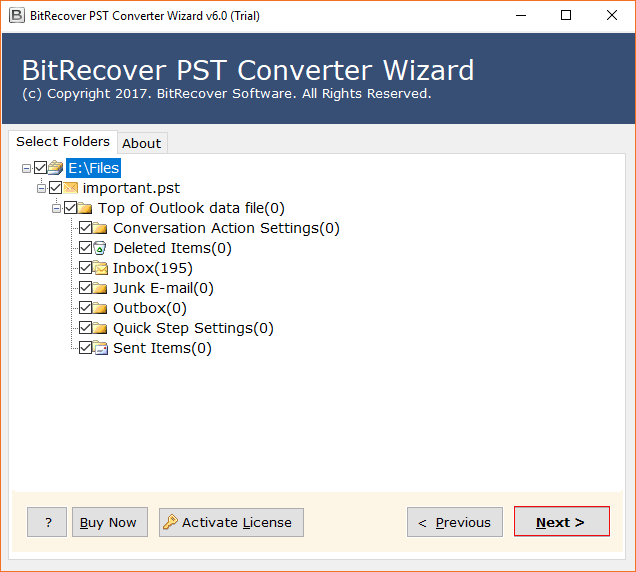
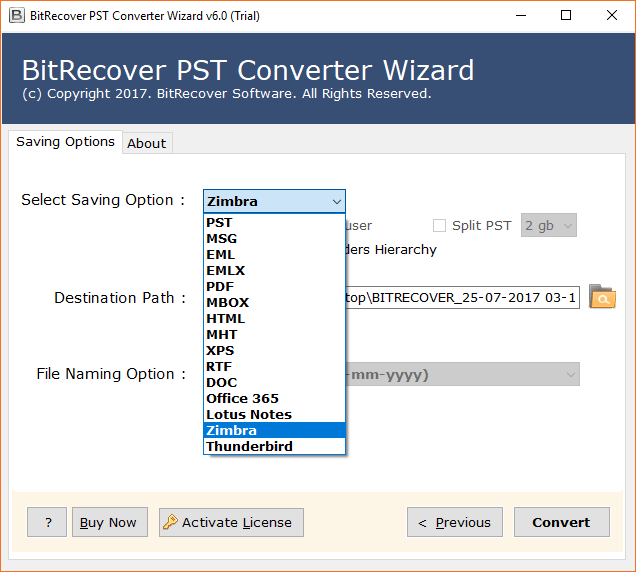
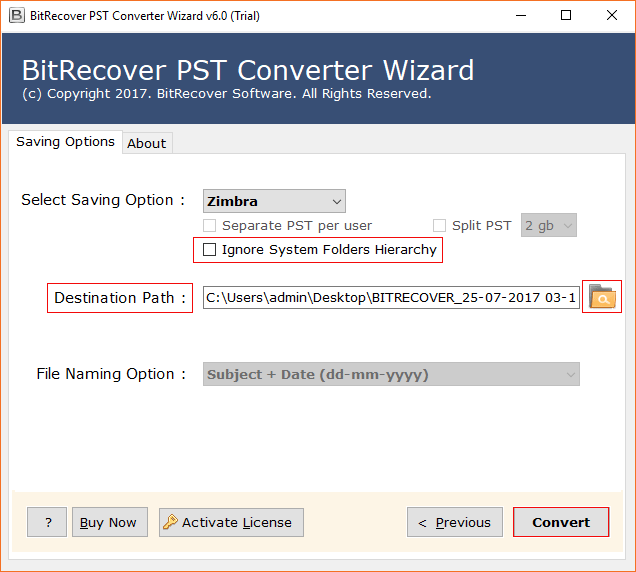
The software provides the option to change the system folder hierarchy structure and merge all email folders into one. Mean, if you want to store all emails in a folder, select this option otherwise uncheck this option.

ignore folder hierarchy

STEP 7
Select Destination Location and Resultant Path

The software provides the option to save converted data on the user desired location path. You can select any internal and external locations by clicking the browse button. You can also save resultant data to USB drives and Pen drives.

set location path

STEP 8
A dialog box comes out after complete processing

When the process is finished the software will open a complete box that show you the PST conversion process is complete.

complete process

STEP 9
Open Resultant Location Automatically

When the process is finished, the software opens the destination location automatically.

resultant data

How to Import Converted TGZ Files in Zimbra Client or Zimbra Desktop ?

Follow the below steps to import TGZ files in Zimbra Desktop

STEP 1
Open Zimbra Desktop client and Go to Preferences tab. Now, click on "Import & Export" option under Zimbra profile.

Preferences and Import Option of Zimbra


STEP 2
Browse .tgz file to proceed next step.

Select TGZ File to Import
STEP 3
Now, click on "Import" option. It will take some time to complete the process according to the size of .tgz file.

select pst folder


STEP 4
At the point of finishing time, it will throw a message "Import Succeeded". Click on "Ok" button to check the imported items.

Import Succeeded Message of Zimbra


STEP 5
Now, check the imported items in left pane of Zimbra Desktop client. Click on required items to check and read its content.

View Contents of Imported File

Turgs PST to Zimbra Import Wizard Pro For Windows - Free Download

Download Outlook PST to Zimbra Converter Software on Windows to Migrate Outlook to Zimbra Desktop

Download Now Purchase Now