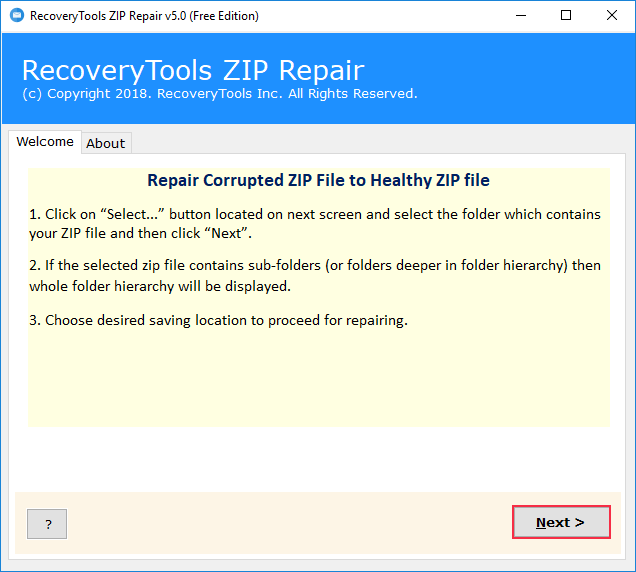
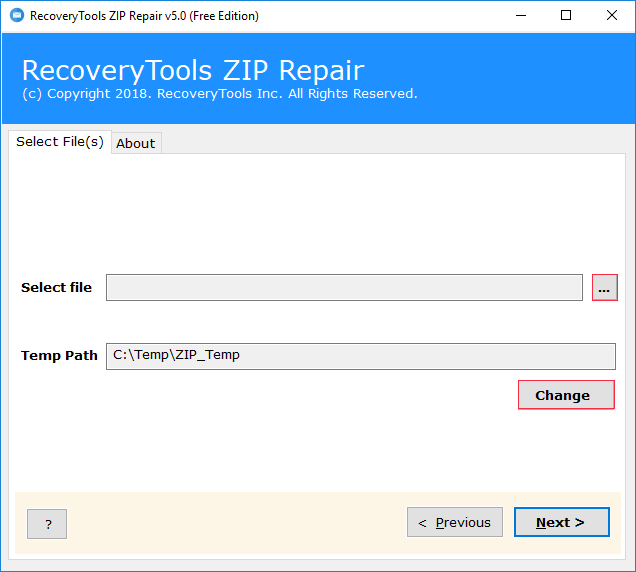
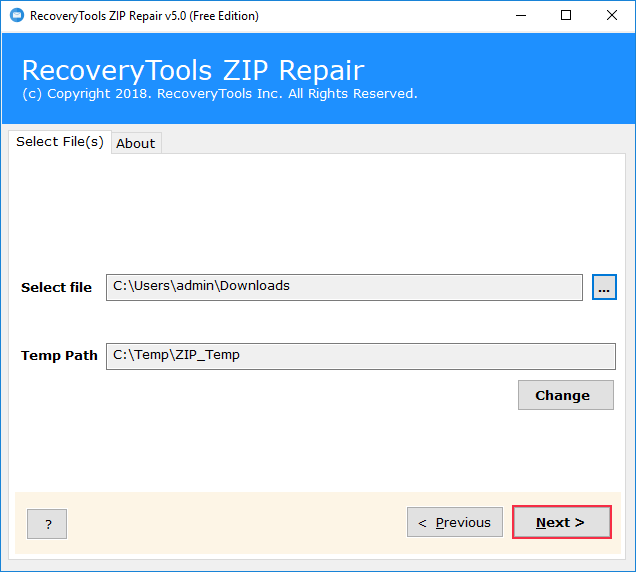
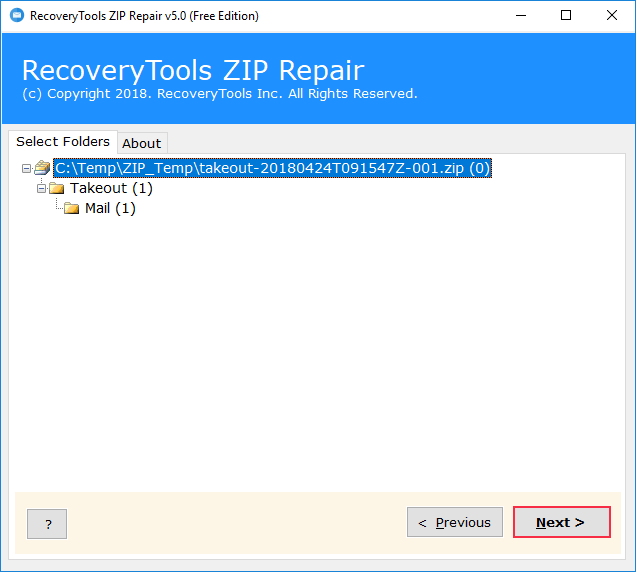
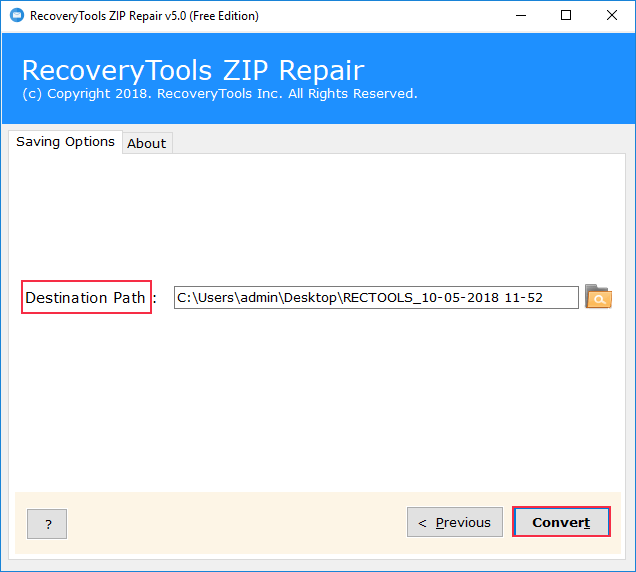
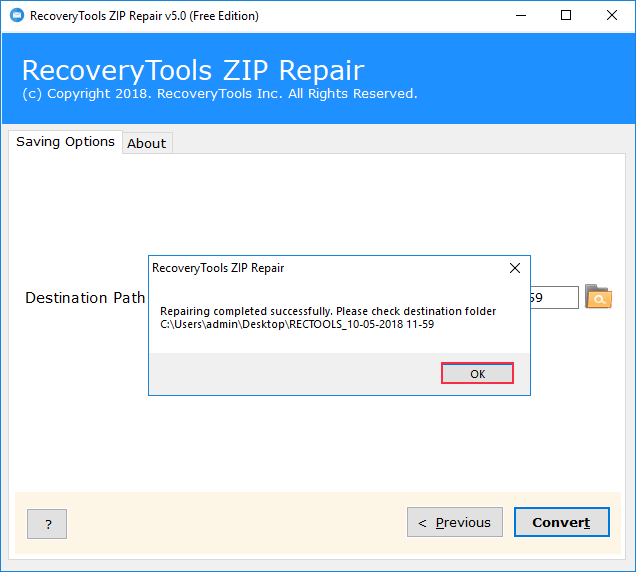
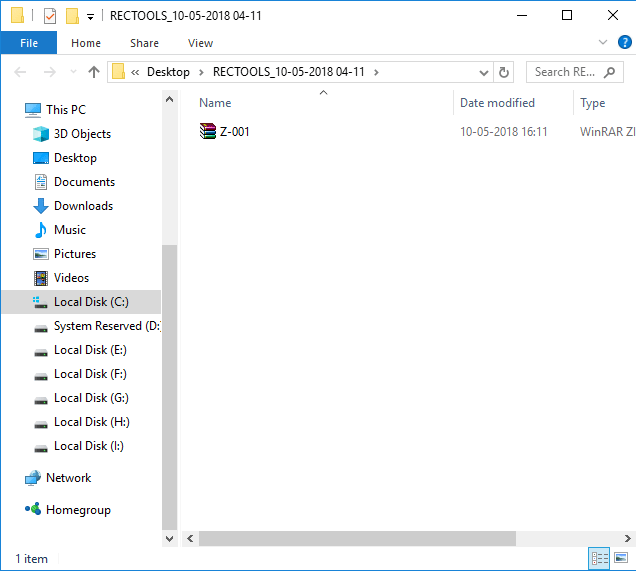
Complete Step-by-Step Process to Repair Zip Archive Files
STEP 1
Run and Open Tool
Install, run and open the Free Zip Repair Tool on your Windows system. Then, click “Next” to initiate Zip file recovery process.
STEP 2
Choose Zip Files
Now the software home screen will open. Choose the browse option to select Zip files. This Zip repair program allows users to choose one Zip file at a time.
STEP 3
Go to Zip File Location
Now browse and go to the location having damaged or corrupted Zip files, then choose the corrupted Zip file by simply clicking Ok.
STEP 4
Cross-Check Selected File
The software panel will preview the selected path, also choose. You can select the “change” option to modify the temp path if required. Then press “Next” to proceed further.
STEP 5
Analyze selected Files
Within seconds, the software begins analyzing selected Zip files. Then, it will show all the internal files of the Zip archive. Choose the selected files and press “Next”.
STEP 6
Choose Destination Path
Now choose the destination path to save the data after Zip file recovery and press “Convert” to begin the task.
STEP 7
Free Zip File Recovery Task
Now, the software will initiate and end the Zip file recovery task within seconds. Click “Ok” to the dialogue box appeared.
STEP 8
Restored Zip Data
Check the chosen destination path to find recovery healthy Zip files. By performing these simple steps you can repair an unlimited Zip file to a healthy format free of cost.
Turgs Free Zip Repair Tool Pro For Windows - Free Download
Free Zip Recovery Software for Windows - How to repair CRC Error in Zip files ?